
GIMP stands for GNU Image
Manipulation Program, and is a free open source tool. (Note: GNU is a
recursive acronym that stands for "GNU's Not Unix!") Please
only download GIMP from the official website here. As of this writing (2019-02-07),
version 2.10.8 (2018-11-08) is the current stable release of GIMP.
I've seen some people say
that they've tried to use GIMP but they had some difficulties, so I
decided to write some tutorials, to try to help people get started.
I'm not the world's best writer, and with my desire to try to put
something together quickly, this might be choppy and jump from topic
to topic. In time, my writing style and tutorial presentation style
might improve (or maybe not :-).
The official GIMP website
also has Tutorials and Help files (known as Docs). The English
online help User Manual is here.
They have other languages as well.
I use GIMP on Windows 7,
but I assume the menu choices within the application are the same for
the other operating systems that they support.
GIMP is a very powerful tool with a lot of capabilities beyond manipulating standard image files. GIMP can open PDF files, use Photoshop brushes, run scripts and plugins, and more. But I won't get into those capabilities until later tutorials. (If you see any older posts on my blog about GIMP, plugins, etc. please don't read those because some or all of what I wrote then is now OBE (overcome by events) due to changes in the newer versions of GIMP.)
GIMP is a very powerful tool with a lot of capabilities beyond manipulating standard image files. GIMP can open PDF files, use Photoshop brushes, run scripts and plugins, and more. But I won't get into those capabilities until later tutorials. (If you see any older posts on my blog about GIMP, plugins, etc. please don't read those because some or all of what I wrote then is now OBE (overcome by events) due to changes in the newer versions of GIMP.)
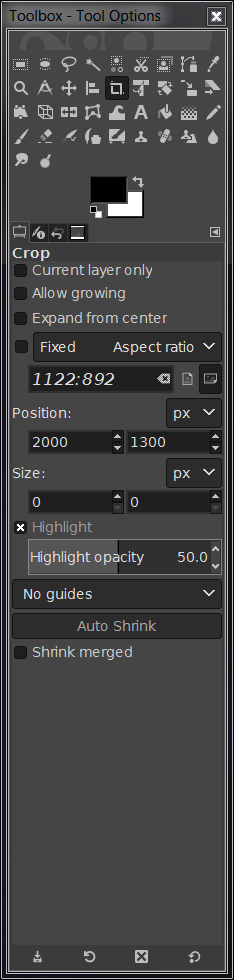
Tutorial #1 – the Crop
Tool
As I begin this tutorial,
I'm going to assume you have already installed GIMP on your computer
and know how to open it. (If you haven't installed it from
https://www.gimp.org/downloads/ yet, please do so now.)
I'm starting with the Crop
Tool, because one of my blogger friends said she couldn't find it. To
be honest, I didn't know there was one, because I don't use it. But
seek and ye shall find. :-)
So, the first step is to
open the GIMP application. (If you're on Windows 7, you can click on
the Start button in the bottom left corner of the screen, click on
All Programs, and select GIMP 2.10.8 in the list of alphabetical
choices, then wait for GIMP to open, which might take a little time.)
The default installation
of GIMP opens three windows: the main window where your image will
appear, a Toolbox window on the side, and a Layers window on the
side. (That's what mine does, anyway.)
If you don't have those
two additional windows open, you can open them by doing this: In the
main window menu, choose Tools – Toolbox or choose Windows –
Toolbox and that window should open. Choose Windows – Layers -
Brushes and that window should open. (If they don't open, I'm not
sure what to tell you to do. I'm afraid to close mine and re-open
them: bad things sometimes happen when you close a default open
window. :-( )
The nice thing about the
Toolbox window is that if you hover your mouse over any of the tool
icon symbols, a tooltip popup box will appear, that tells you what
the tool is. I hovered over each tool icon symbol until I found the
Crop Tool, which looks like this (more detailed image
shown further below):
© All Rights Reserved
When you select a tool
icon symbol by left mouse clicking on it, additional controls for
that tool choice will appear in the area beneath the tool icons area.
You can mouse hover over each item, to get tooltip popup boxes that
provide more information about the choices.
I'm going to use the
default settings for the Crop Tool for this tutorial.
Now I need something to
crop.
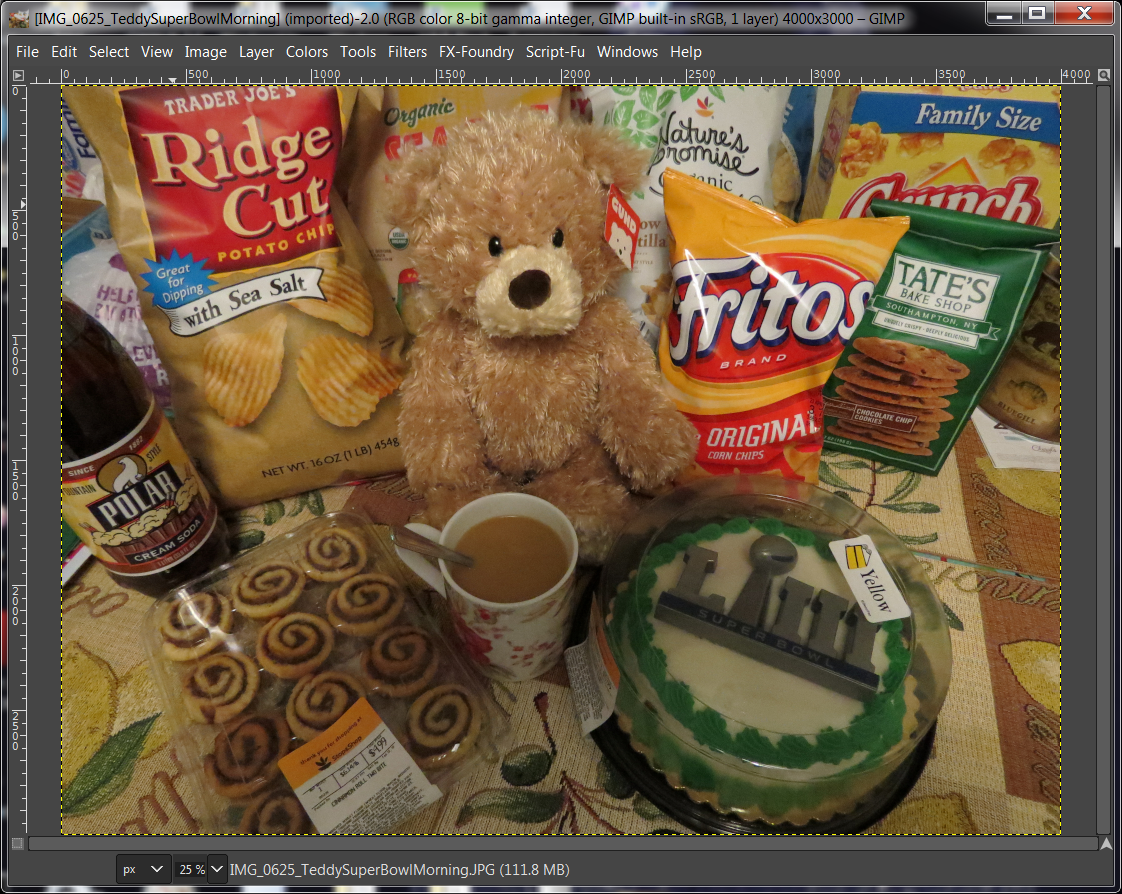
Teddy has graciously
offered to "star" in all of my tutorial examples. I told
him we'll see how that works out going forward in time, but for now,
he will do.
There are several ways to
open an image in GIMP. You can use the standard menu File – Open
method, which presents an open dialog box that has a Unix feel to it
even on Windows, but I'm going to assume you know how to navigate
around a File Open dialog box. If this part is a little non-intuitive
(due to the Unix feel), fear not: we can open a file another way.
Within Windows, open a Windows Explorer / File Explorer window and
navigate to the directory where your file of interest is. (i.e. go to
the directory that contains the file you want to crop.)
Within the File Explorer
window, select the filename by left clicking once with the mouse.
Right mouse click on the filename and select Open With - GNU Image
Manipulation Program in the popup dialog box that appears. You should
now see your image in the main GIMP window, like this:
© All Rights Reserved
Either way, hopefully you
now have the image you want to crop open within GIMP.
Now, left mouse click on
the Crop Tool icon within the Toolbox window, to select it.

© All Rights Reserved
Next, position your mouse
in the upper left hand corner where you want to begin your crop.
Press down and hold the left mouse click and draw your mouse toward
the lower right hand side of the area you want to crop, then release
the left mouse hold. If you don't like your selection, left mouse
click once outside of it, to unselect it. Try making a few selections
following the above steps, to get the feel of it.

© All Rights Reserved
Once you have a selection
box around your crop area, you can tweak it if you need to. Once the
selection box is over your crop area, if you move your mouse around
to the sides and corners, you'll see a smaller rectangle or corner
box appear. Press down and hold the left mouse click and draw your
mouse further out or in, to adjust your selected crop box.

© All Rights Reserved
To crop your image, left
mouse click anywhere within the inside of the selected crop box.

© All Rights Reserved
Made a mistake? Simple:
select menu choice Edit – Undo (Crop Image) and you're back to the
original image again. :-)
Once you're done, you can
save the file to be able to edit it again within GIMP later in time,
by doing a File – Save As, to give it a GIMP .XCF extension, or you
can save it as an image type by doing a File – Export As and using
the desired file extension. (I like to export my files as .PNG
files.) If you save your file as type .XCF, you can always export it
later.
Hopefully this was
helpful. Please leave feedback either way, if you have time, in the
comments. Thank you.
I have Gimp 8, so my version is older than yours. And I don't use Windows, so that step was lost on me. I have it as an icon at the bottom of my screen, along with my e-mail, my calculator, and my virtual box.
ReplyDeleteHOWEVER, using your instructions, I went to my Gimp, imported the note card from yesterday's post (saved in PS) and found Tools. From there it was easy to crop the image. Thank you for this, Anne. At least now I have one tool I can use in Gimp.
My friend Scott put Gimp on my computer when he built it. The only way to get Photoshop and Word Perfect (WP) to work was to create a virtual box. However, if I want to print anything, I have to go into Gimp to print either PS or WP docs/files. Thanks for this tutorial. I appreciate it!!